HOW TO USE A SPIRALIZER
Do you want to experiment with low carb veggie noodles? Need help slicing your vegetables extra thin for salads, stir fry, pickling or slaws? With the right attachments, your KitchenAid® stand mixer can help you get a variety of cuts for whatever recipes you dream up, like spiralizing those zucchini noodles for your next pasta dish or slicing vegetables extra thin for salads, stir fry and slaws. This guide can help you learn how to use a spiralizer and other slicing attachments from KitchenAid brand for unlimited possibilities to experiment and create.

What Can You Use a Spiralizer For?
KitchenAid® spiralizer attachments are versatile and have multiple uses depending on the blade you choose. In addition to slicing thin pasta-like strands, your attachments can also create ribbons, peel potatoes, core apples and create extra fine to medium spirals for a range of fresh ingredients. Experiment with spiralizing a variety of fruits and vegetables to add a refreshing twist to classic recipes. Stretch your creativity with some of the foods from this list:
- Apples
Beets
Butternut Squash
Cabbage
Carrots
Cucumbers
- Onions
Pears
Potatoes (sweet and white)
- Summer squash
- Zucchini

How to Use a Spiralizer: Step-by-Step Instructions
With a few simple tips and this guide, you are minutes away from spiralizing zucchini, coring apples and more with a variety of spiralizer attachments from KitchenAid brand. Experiment with your fruits and veggies and discover new possibilities with the:

Step 1: Select the Appropriate Spiralizer Blade
Get the most out of your favorite fruits and veggies by using the right-sized blade for the perfect cut. KitchenAid brand offers a wide selection of stand mixer attachments, including 5-blade, 7-blade and thin blade sets. Depending on your preference, possible blades to use are:
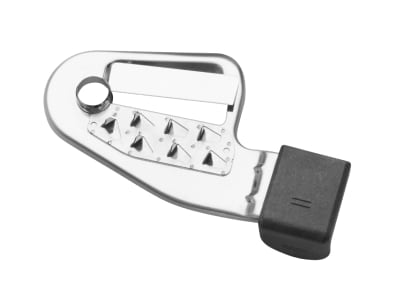
EXTRA FINE SPIRALIZING BLADE
creates a 2 mm x 3 mm strand, similar to angel hair noodles.
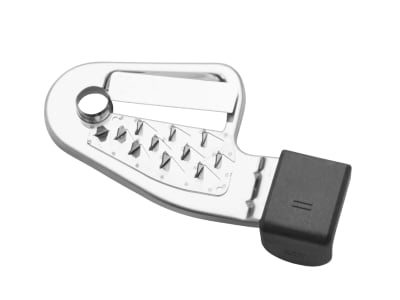
FINE SPIRALIZING BLADE
creates a 4 mm x 4 mm strand, similar to spaghetti.
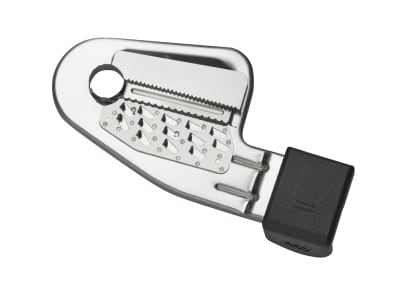
MEDIUM SPIRALIZING BLADE
creates a 4 mm x 6 mm strand for quick and easy potatoes and zucchini in casseroles in soups.
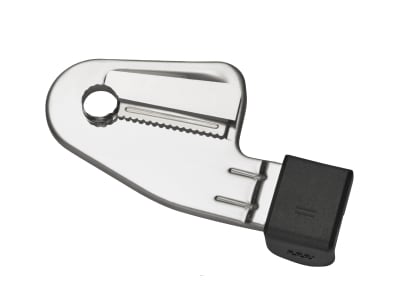
THIN SLICING BLADE
(small core) for a 2 mm ribbon style result to make extra-thin slices for salads and other garnishes.
SLICING BLADE
(small core) for a 4 mm ribbon style result with fresh fruits and vegetables with little to no cores, such as zucchini.
SLICING BLADE
(large core) for a 4mm ribbon style result with fresh fruits and vegetables with larger cores, such as apples.
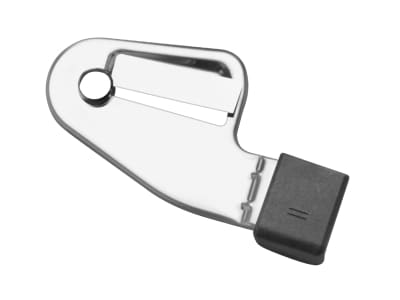
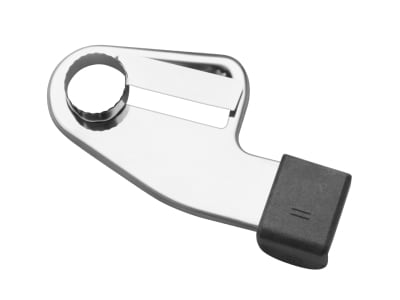
PEELING BLADE
can be used independently or in combination with spiralizing or spiral slicing blades.

Step 2: Attach the Spiralizer Attachment to a Stand Mixer
With your produce prepped for spiralizing, the next step is to secure the attachment into the hub of the stand mixer. This is the port at the very top and front of your stand mixer. Unscrew the hub cover and rotate your desired attachment into the hub until it is secure.
Next, place the skewer onto the mount and turn counterclockwise until it clicks into place.
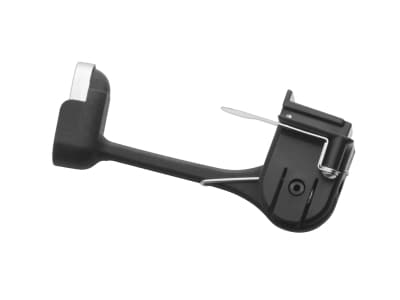
If you are using the peeler, make sure to first attach it to the bottom of the blade carrier on the attachment.
Choose the blade you need, and insert it into the holder on top of the attachment.

Step 3: Prep Food for the Spiralizer
Before you spiralize your produce, make sure it’s washed and properly prepared. Some general guidelines are listed below to help you perfect your cuts.
- Cut the ends off food items to ensure that the food will properly fit on the spiralizer.
- This creates a flat surface for best spiralizing, slicing, and coring results.
Food diameter: should be 1.5 to 3.75 inches (3.81 to 9.5 cm)
Food length: no longer than 5.5 inches (14 cm). (Cut large vegetables to fit).
This step also ensures proper placement onto the fruit and vegetable skewer.

Step 4: Attach Food to the Spiralizer
After you have prepped your produce, insert your favorite fruit or vegetable into the skewer on your stand mixer. Make sure it is secure.

Step 5: Spiralize the Attached Fruit or Vegetable
Place a large bowl underneath the spiralizer attachment to catch your creations.
Pull the release lever on the attachment, and align the blade core into the center of your food.
Turn on your stand mixer.
When you are beginning to cut, start at the “Stir” speed, then adjust to the recommended setting for your spiralizer blade listed in the chart below:
Icon |
Use these parts |
with these parts |
suggested foods |
speed |
|---|---|---|---|---|
| extra fine spiralizing blade |
fruit and vegetable skewer and optional peeling blade |
zucchini sweet potato beet |
2 | |
| fine spiralizing blade |
zucchini sweet potato beet |
4 | ||
| medium spiralizing blade |
zucchini sweet potato potato |
6 | ||
| thin slicing blade (small core) |
zucchini potato cucumber |
2 | ||
| slicing blade (small core) |
zucchini beet |
4 | ||
| slicing blade (large core) |
apple pear |
6 | ||
| peeling blade |
fruit and vegetable skewer |
potato apple |
4 |

Spiralizer Maintenance & Troubleshooting Tips
Check out the tips below for information on cleaning and troubleshooting your spiralizer.
How to Clean a Spiralizer
The accessories are dishwasher safe, top rack only.
The main body of your KitchenAid® stand mixer should be cleaned with a warm, damp cloth.
Why is the Spiralizer Attachment Making a Hole in the Fruit or Vegetable?
Make sure that you use only fresh, hard and firm fruits and vegetables for best results.
Make sure that the fruit or vegetable is firmly on the skewer before turning on the mixer.
- Switching the mixer on first and allowing the blade to engage with a fruit or vegetable that is already turning can actually cause the food to stop turning. This can cause the mixer to to "bore" a hole in the food item.
Why is the Spiralizer Carriage Not Moving?
Be sure to keep the bar that says KitchenAid® and the black piece that slides over it very clean.
Adding a drop or two of vegetable oil on the bar can help ensure that it slides easily.

Shop KitchenAid®Stand Mixer Attachments
With flexible options of 5-blade, 7-blade or thin spiralizer blade sets from KitchenAid, you have the freedom to peel, core, slice and spiralize for creative twists to your favorite recipes.

Recommended Articles
-
 Stand Mixer Attachments Buying Guide Take your creativity to the next level with stand mixer attachments. Explore this buying guide from KitchenAid brand to learn about stand mixer attachments and accessories.
 -
 How to Stuff Sausage Learn how to stuff sausage with our step by step guide. Our tips for preparing and stuffing sausage casings will help you make delicious, homemade sausages.
 -
 How to Store and Freeze Fresh Pasta Learn how to store homemade pasta with our helpful guide. Discover how to dry or freeze your homemade pasta so it tastes and looks great.